In the four years since I started the Tech Time Traveller Youtube channel, filming space has been a challenge. We live in one of what are colloquially known as “BC Box Houses”. It’s basically like a bungalow that is two stories, the second story is an above-ground basement. It’s not my favorite design – but it was popular in BC and Canada in the 1970s. Being 1970s, it was not super well built – when our 10 pound dog would walk in the living room upstairs it would shake the entire floor. Acoustics are abysmal – you can hear a pin drop upstairs at the other end downstairs. Plumbing, people walking.. it’s a nightmare for filming a quality Youtube video. I’ve no idea why this design of house was so popular – but then again I don’t understand why so many other things in the 1970s were popular – earth tones, shag carpet, etc. I suppose in BC it makes sense because many of us are on floodplain, so having the main house above where water might be is probably a good idea. If only the builders of this house had spent less on weed and more on useful tools like squares, levels, etc… but I digress.
The space I was using for the most part is one half of our downstairs rec room. For a display table I’ve been using my wife’s craft table – a 6 foot folding table that is convenient in that it’s lightweight and has adjustable heights, but the surface is destroyed, and the legs are super wobbly which the camera is only too happy to emphasize.
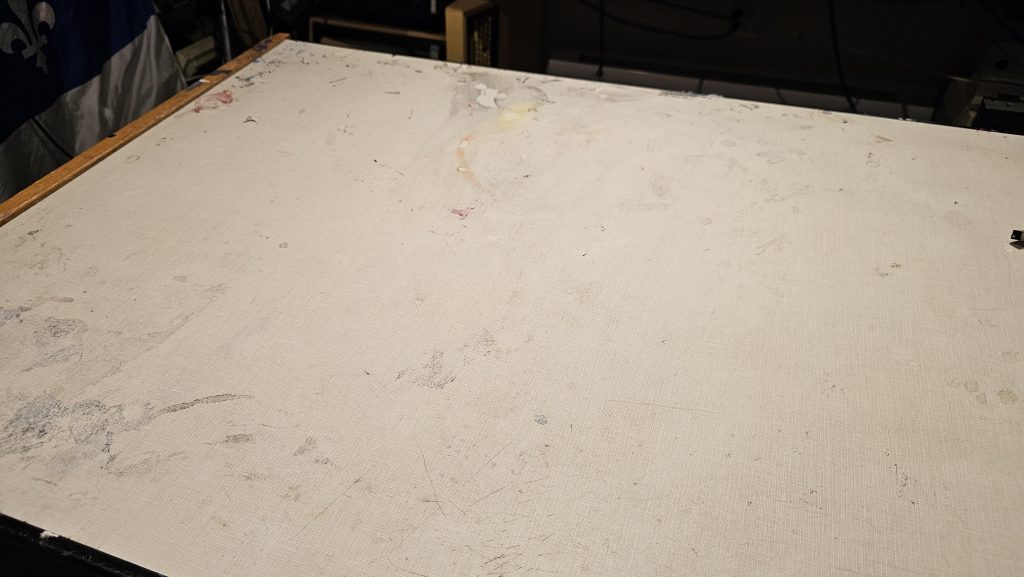
I have another space in the house – my main office. This was my original office/hobby room and some of my earliest Youtube videos were filmed there. I have two desks there.. one of them is a large, absolutely rock solid 1980s office desk. But the surface was damaged due to my model railroading painting. Plus it was in a bad location for filming generally – no room to set up lighting, etc.

I rearranged the office during the Christmas break. That created space all around for camera and lighting. Very tight space, but anyway.. it works. Sort of. Unlike the rec room, the ceiling is drywalled, so less echo. The only small problem is the bathroom is directly ahead, so I have to pause for showers/flushes.
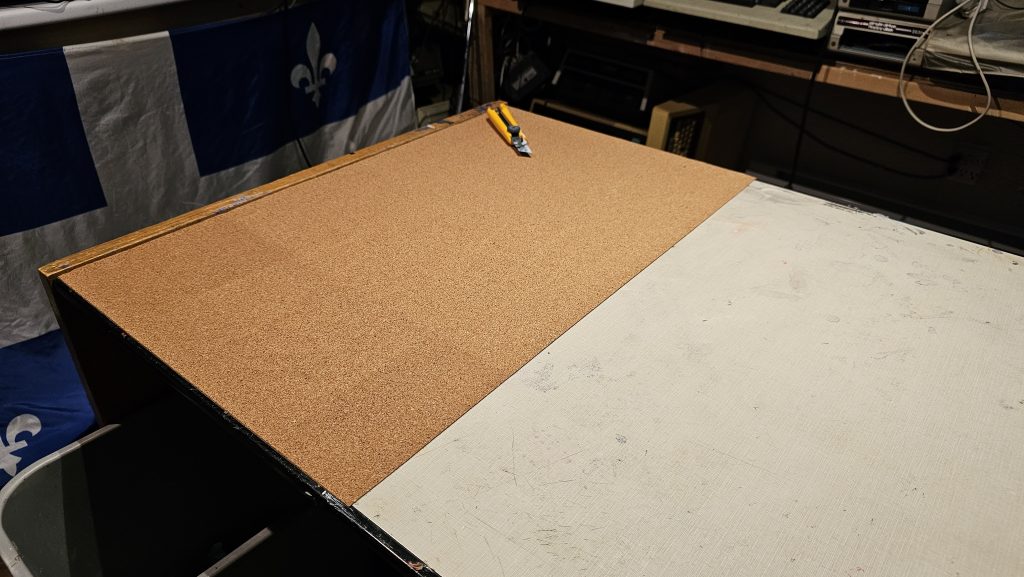
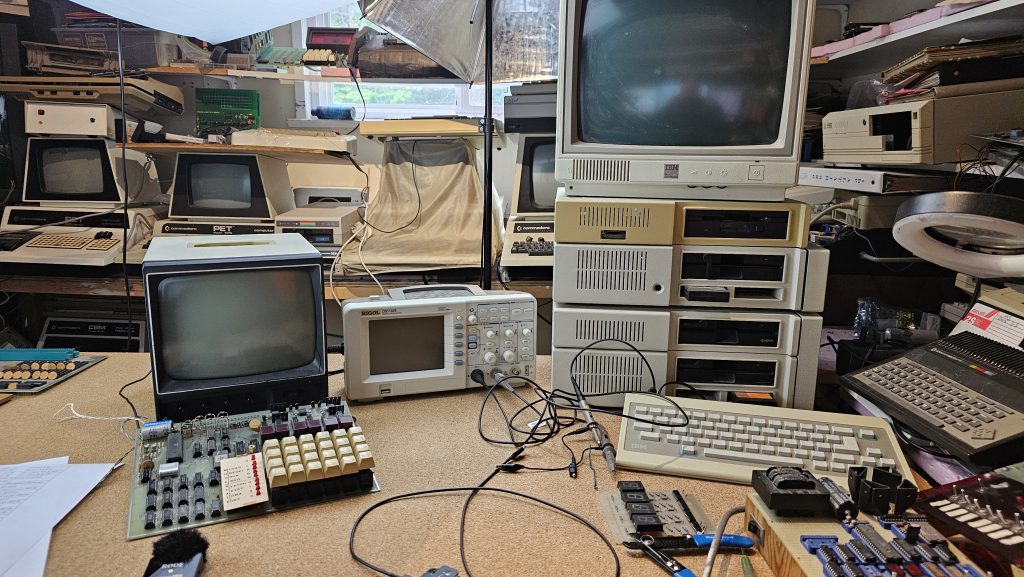
I couldn’t film on an ugly stained desktop, so I had to improvise. Aha! I decided to pull an 8-Bit Guy and grab some stick on tile to apply to the desk top! I almost had enough from our last reno project, but not quite. Turns out Home Depot has been discontinuing stick-on tile – and I agree with that decision, since I know first hand how s–ty it is. Stick on tile is useless – the adhesive gives up the ghost after a week. Anyway, they didn’t have any that would work for filming purposes. But my wife pointed out some drawer liner stuff, rolls of which you can stick onto any surface! I didn’t like most of the patterns and most of it was way too thin, but I did fine some rolls of cork. Cork would work! Cork is non-conductive, so it won’t damage my electronics gear, and it also is fairly fire resistant (hope not to test that!). And on camera it gives a defined but not intrusive background that doesn’t compete with the subject matter. My only regret is that it isn’t very thick – I realized more thickness might be really handy – I could stick push pins into it to define the area the camera is capturing so I don’t accidentally stray outside of it.


What do you think?
